The Perfect Indian Pav
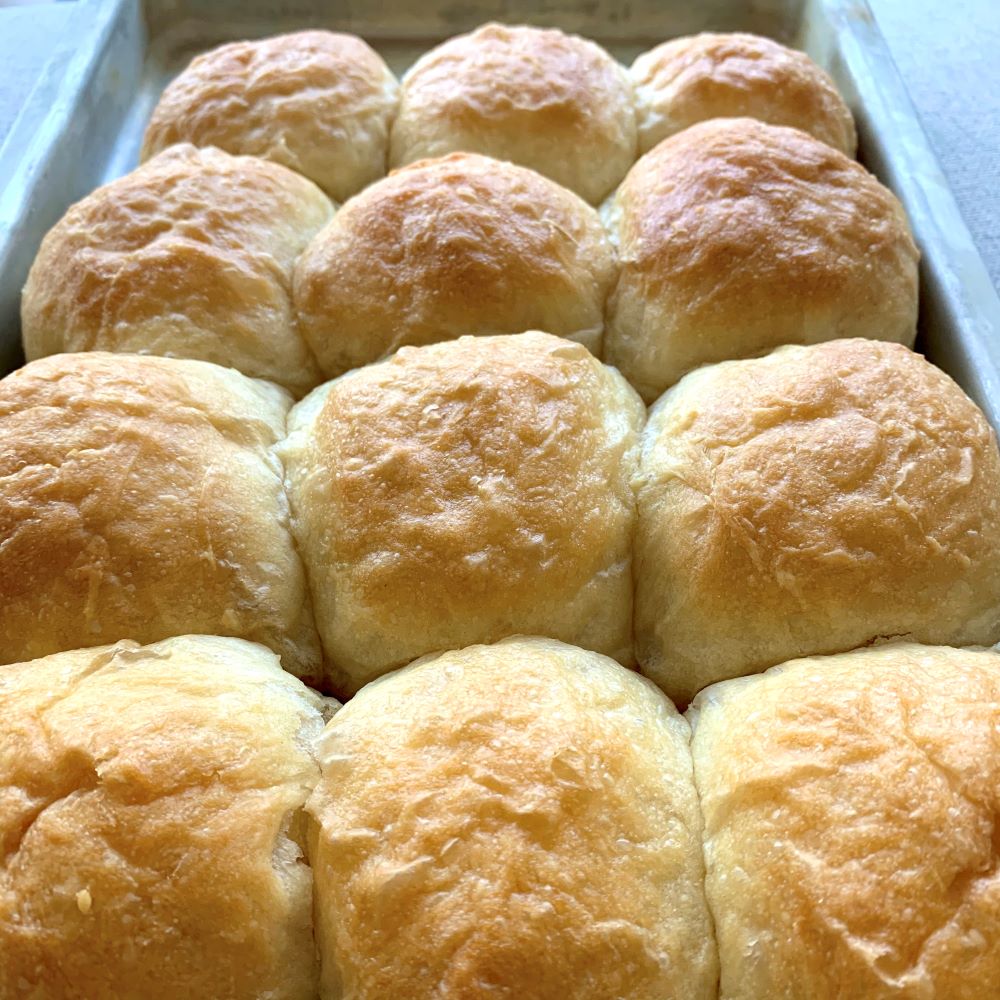
Indian bread rolls – popular accompaniment with street foods such as Pav bhaji, batata vada and misal!
So you may have read my other recipe, which I developed after years of experimentation. That one is great too.. but this one, is a level up – and is the holy grail of what Indian pav needs to be. if you want to see a video demo of this recipe and see of how pillow-y soft the end result is head over to my instagram @aperfectionistscookbook.
Word of caution – this recipe is a lot of watching, diligent time-keeping, but less hands-on work and effort. It involves small amount of hands-on work several times with smaller wait times in between. The original recipe is a bit less demanding as it needs more one-time effort and longer proving/ wait times in between. Please read till the end 🙂
I thought of trying this new method, thanks to my increased knowledge and experience these days with hydration, baker’s %s and the miraculous stretch and fold method of bread making!
**NOTE** Although this recipe calls for milk, you can just use water in its place, and it turns out just fine, just a slight difference in body and aroma.
I strongly recommend read both recipes and then decide which one suits your style and time and level of commitment best. Here’s the link to the other method.
And there you have it the the new and improved perfect pav recipe:
You will need:
*NOTE* For some ingredients, I have linked the brand/ specific kind that I use for your convenience. By clicking on the link, you will be directed to another recipe on my website or to Amazon.com.
2 1/2 cups of bread flour (All purpose flour should be fine too, will just need longer kneading)
1 sachet of rapid rise instant yeast – 7 gms (I used fleischmann rapid rise)
3/4 cup tepid warm water (should just barely be warm to touch – 43 C or 110 F) – if using all purpose flour hold back 1/4 cup of water and add only if you think you can accommodate more water in the dough
1/2 cup room temperature milk
1/4 up oil (any oil thats suitable for baking/ frying, I used baking olive oil, not extra virgin)
2 teaspoons sugar
1 1/2 teaspoons of salt
A flat big bowl/ dish for mixing the dough
A baking tray
butter for greasing
Procedure:
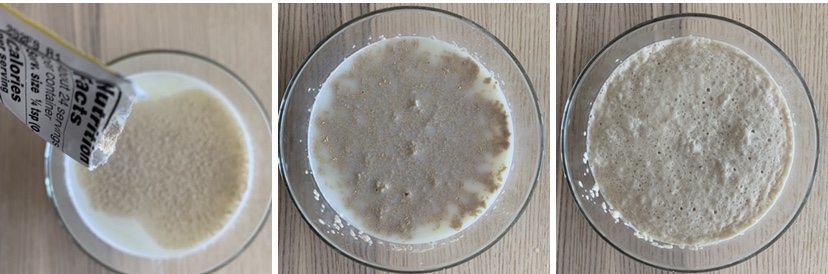
- Add 2 tsp sugar to the warm water+milk (100-110 F) and add a packet of instant yeast. Let stand for 5 min. If using APF, hold back 1/4 cup of water and add later if required. If using bread flour, add all the 3/4 cups
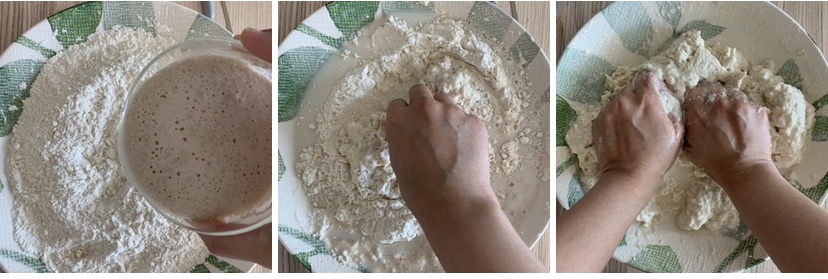
- In a separate bowl, Mix together 2 1/2 cups of bread flower and 1 1/2 tsp of salt
- Mix the wet and dry ingredients, this will form a tacky sticky, wet dough. If using APF, add little at a time of the 1/4 cup water that you held back if the dough isnt tacky enough
- Incorporate the oil in by slowly mixing while turning the bowl. This is a messy process, but keep at it and it will all come together in the end, I promise.
- Once fully mixed, cover and let rest for 30 minutes – 1st proof
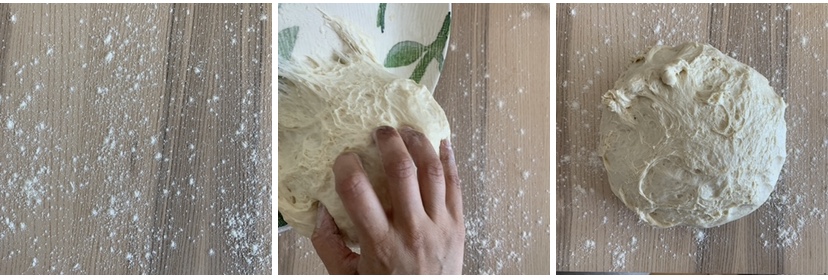
- After 30 minutes, the dough will have spread out and formed a flat proved mass. Wet you hands and stretch the dough, lifting upwards and fold over the other half towards you.
- Turn the bowl 90 degrees and stretch the upper edge and fold over towards you
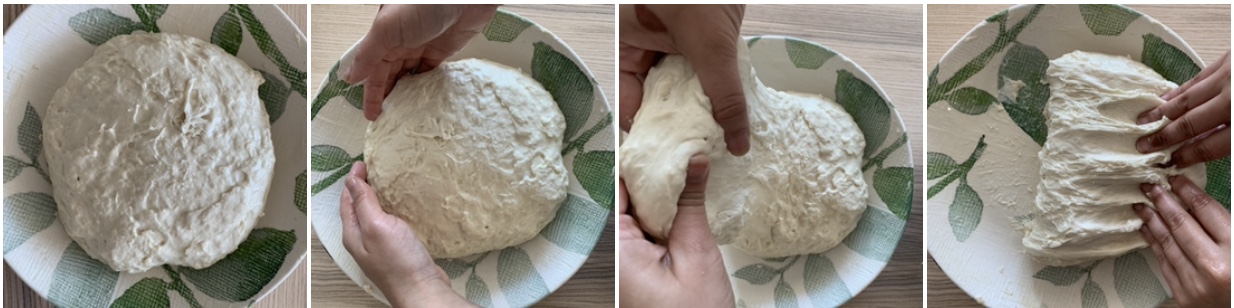
- repeat this in all 4 directions, and you will end up with a ball of stretched and folded over dough. You will notice it already getting fluffy. – 1st set of stretches and folds
- Cover and rest for 30 minutes – 2nd proof
- Repeat the 4 stretches and folds – 2nd set
- Cover and rest for 30 minutes – 3rd proof
- Repeat the 4 stretches and folds – 3rd set
- Cover and rest for 30 minutes – 4th proof
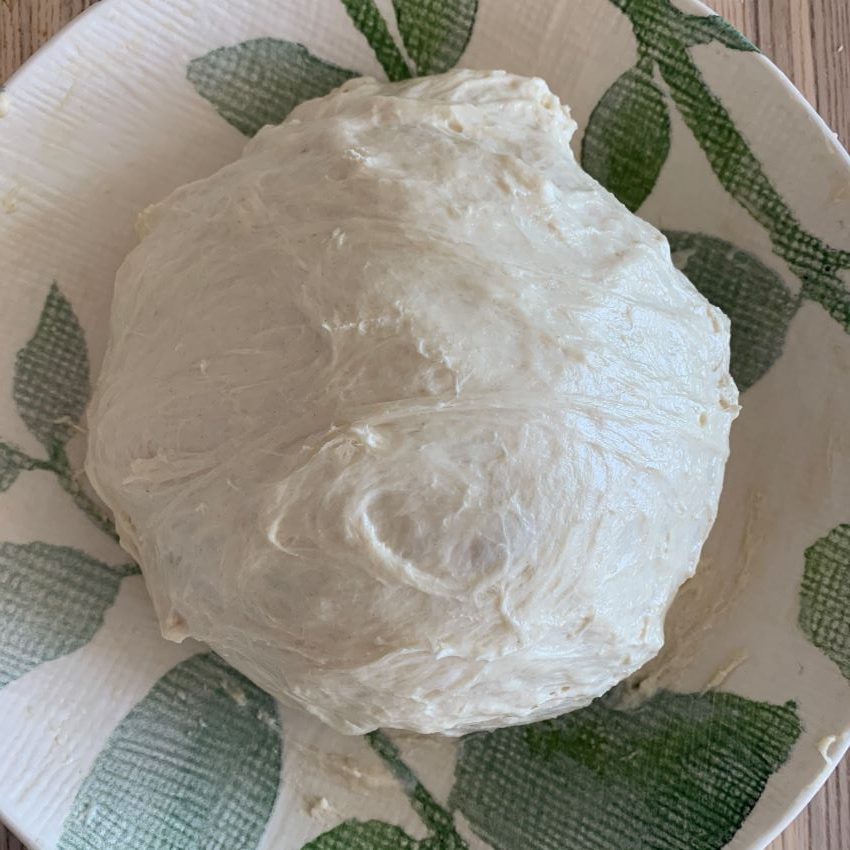
- You will end with a larger fluffy cloud-like light ball of risen dough.
- Remove it on a lightly dusted surface
- Divide the ball of dough without disturbing much in 8-16 equal portions
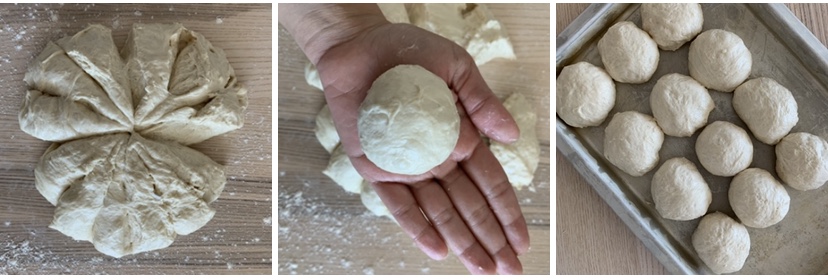
- Roll each portion into a ball by tucking the dough under. flatten each ball of dough (to make flat pavs) a little and place them slightly spaced apart on the greased baking sheet
- Unlike the kneading method, you cannot get smooth balls of dough, but the wrinkly appearance is a small price to pay for an otherwise extremely accurate pav. Also, come to think of it, the typical pav you get in idea does have a wrinkled surface!
- Cover with a kitchen towel and let prove for 45 minutes – 5th proof
- Preheat oven to 375 F.
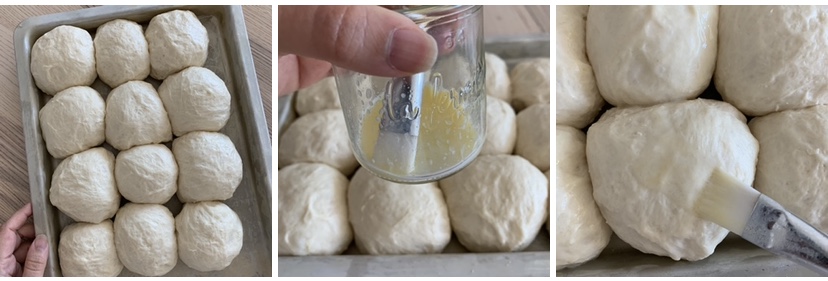
- Brush the tops of the bread rolls with a mixture of milk and melted butter (1 tsbsp molten butter+2 tbsp milk).
- Bake at 375 F for 25-30 minutes
- as soon as they are out of the oven, smother them with some molten butter or some oil
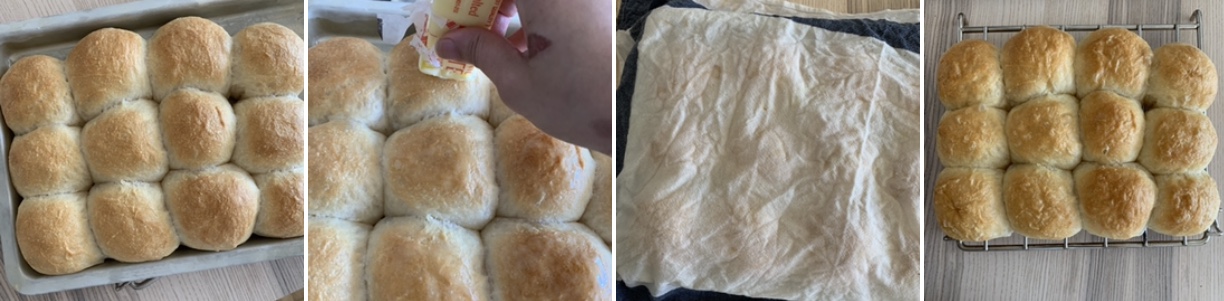
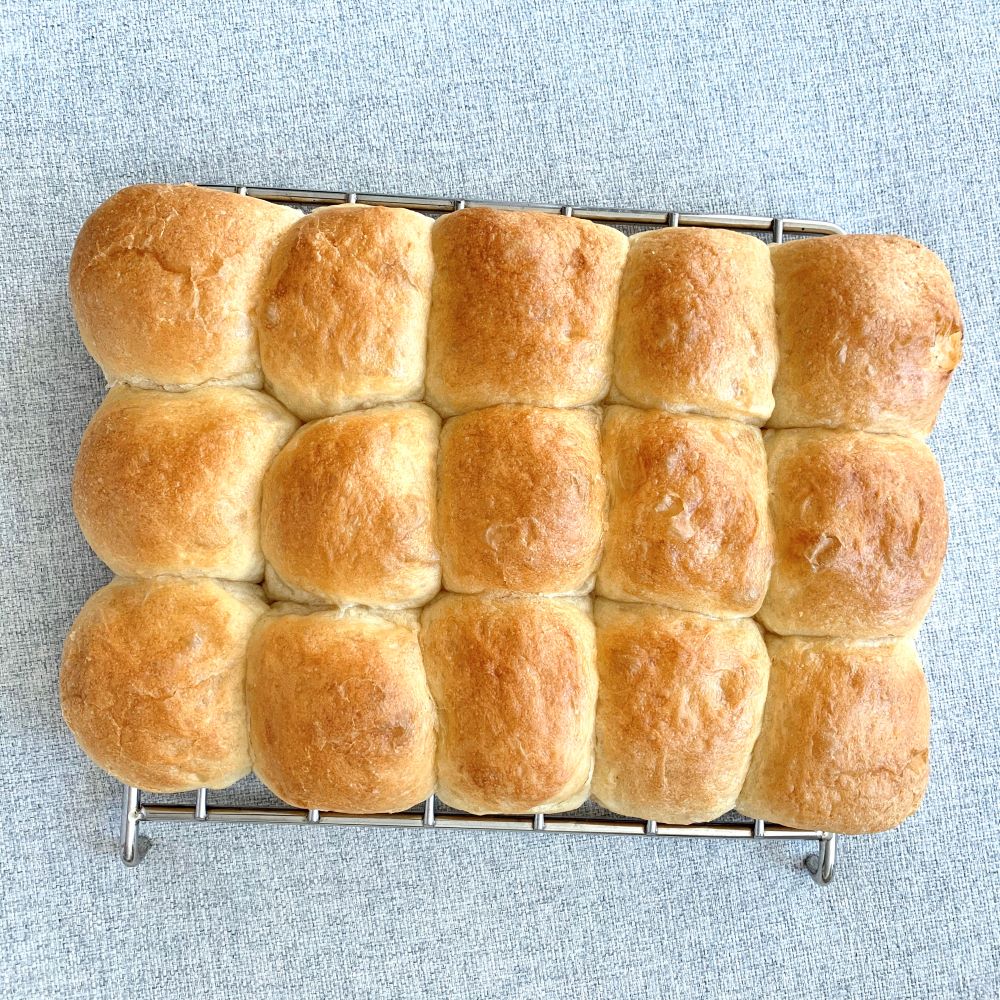
- Remove from the baking tray on to a wire rack, keep covered while they cool to prevent drying
Follow these tips to get even better results:
- I proved my dough in an oven with the light on with a large tray or tin of hot water on the bottom of the oven
- After the pavs are out of the oven, and cooling on the wire rack, cover them with a steamy hot towel while they cool to not let the tops harden
- I tried making this rcipe with 1 1/2 cup bread flour and 1 cup sifted whole wheat flour (atta) and it worked quite well! The taste and color were obviously different however the texture was surprisingly quite similar.
I know this recipe involves a lot of steps, but its worth it, and I have to assure you, after making it several times, I make it very effortlessly! Here’s a little cheat sheet of all the steps involved:
Pav process cheat sheet:
- Mix milk+water+sugar+yeast and let yeast bloom
- Mix salt and flour
- Mix wet+dry ingredients
- Incorporate oil
- Rest 30 min
- 1st S&F (stretch and fold)
- Rest 30 min
- 2nd S&FRest
- Rest 30 min
- 3rd S&F
- Rest 30 min
- divide dough and shape pavs
- Rest 45min
- Bake–