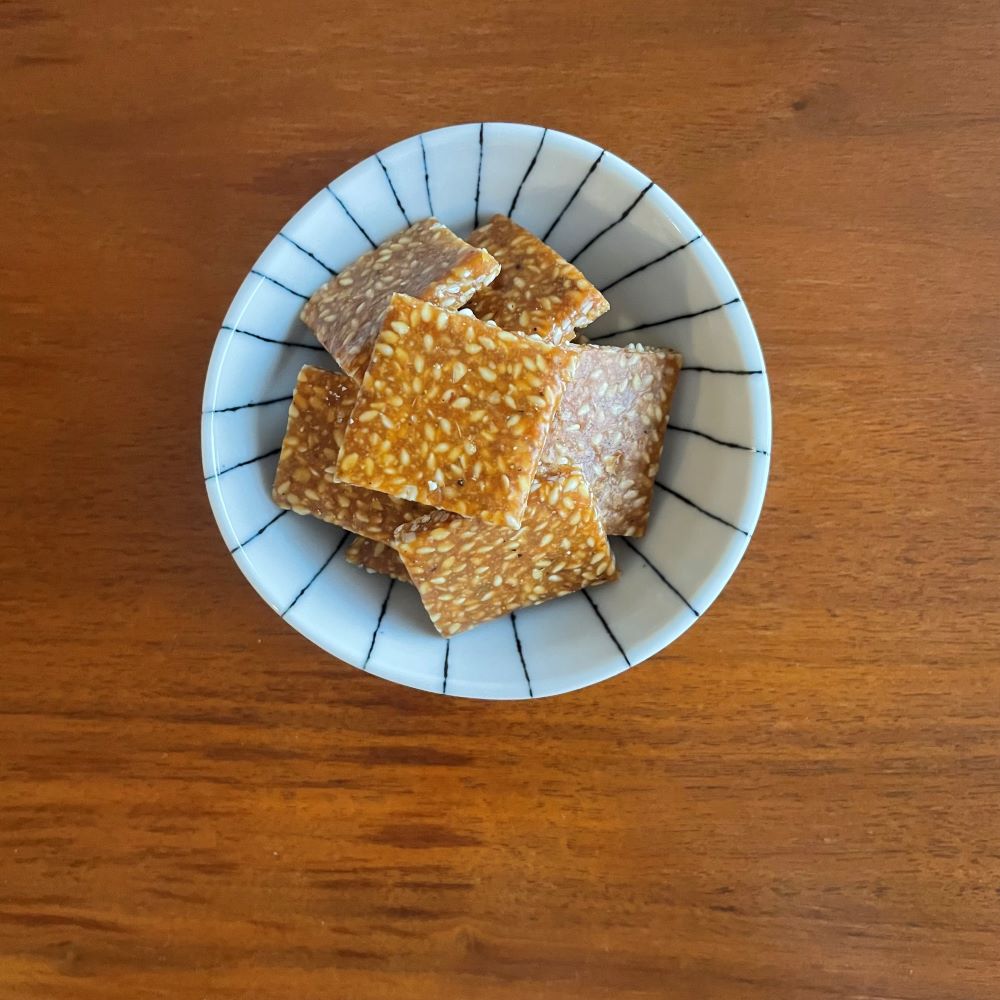
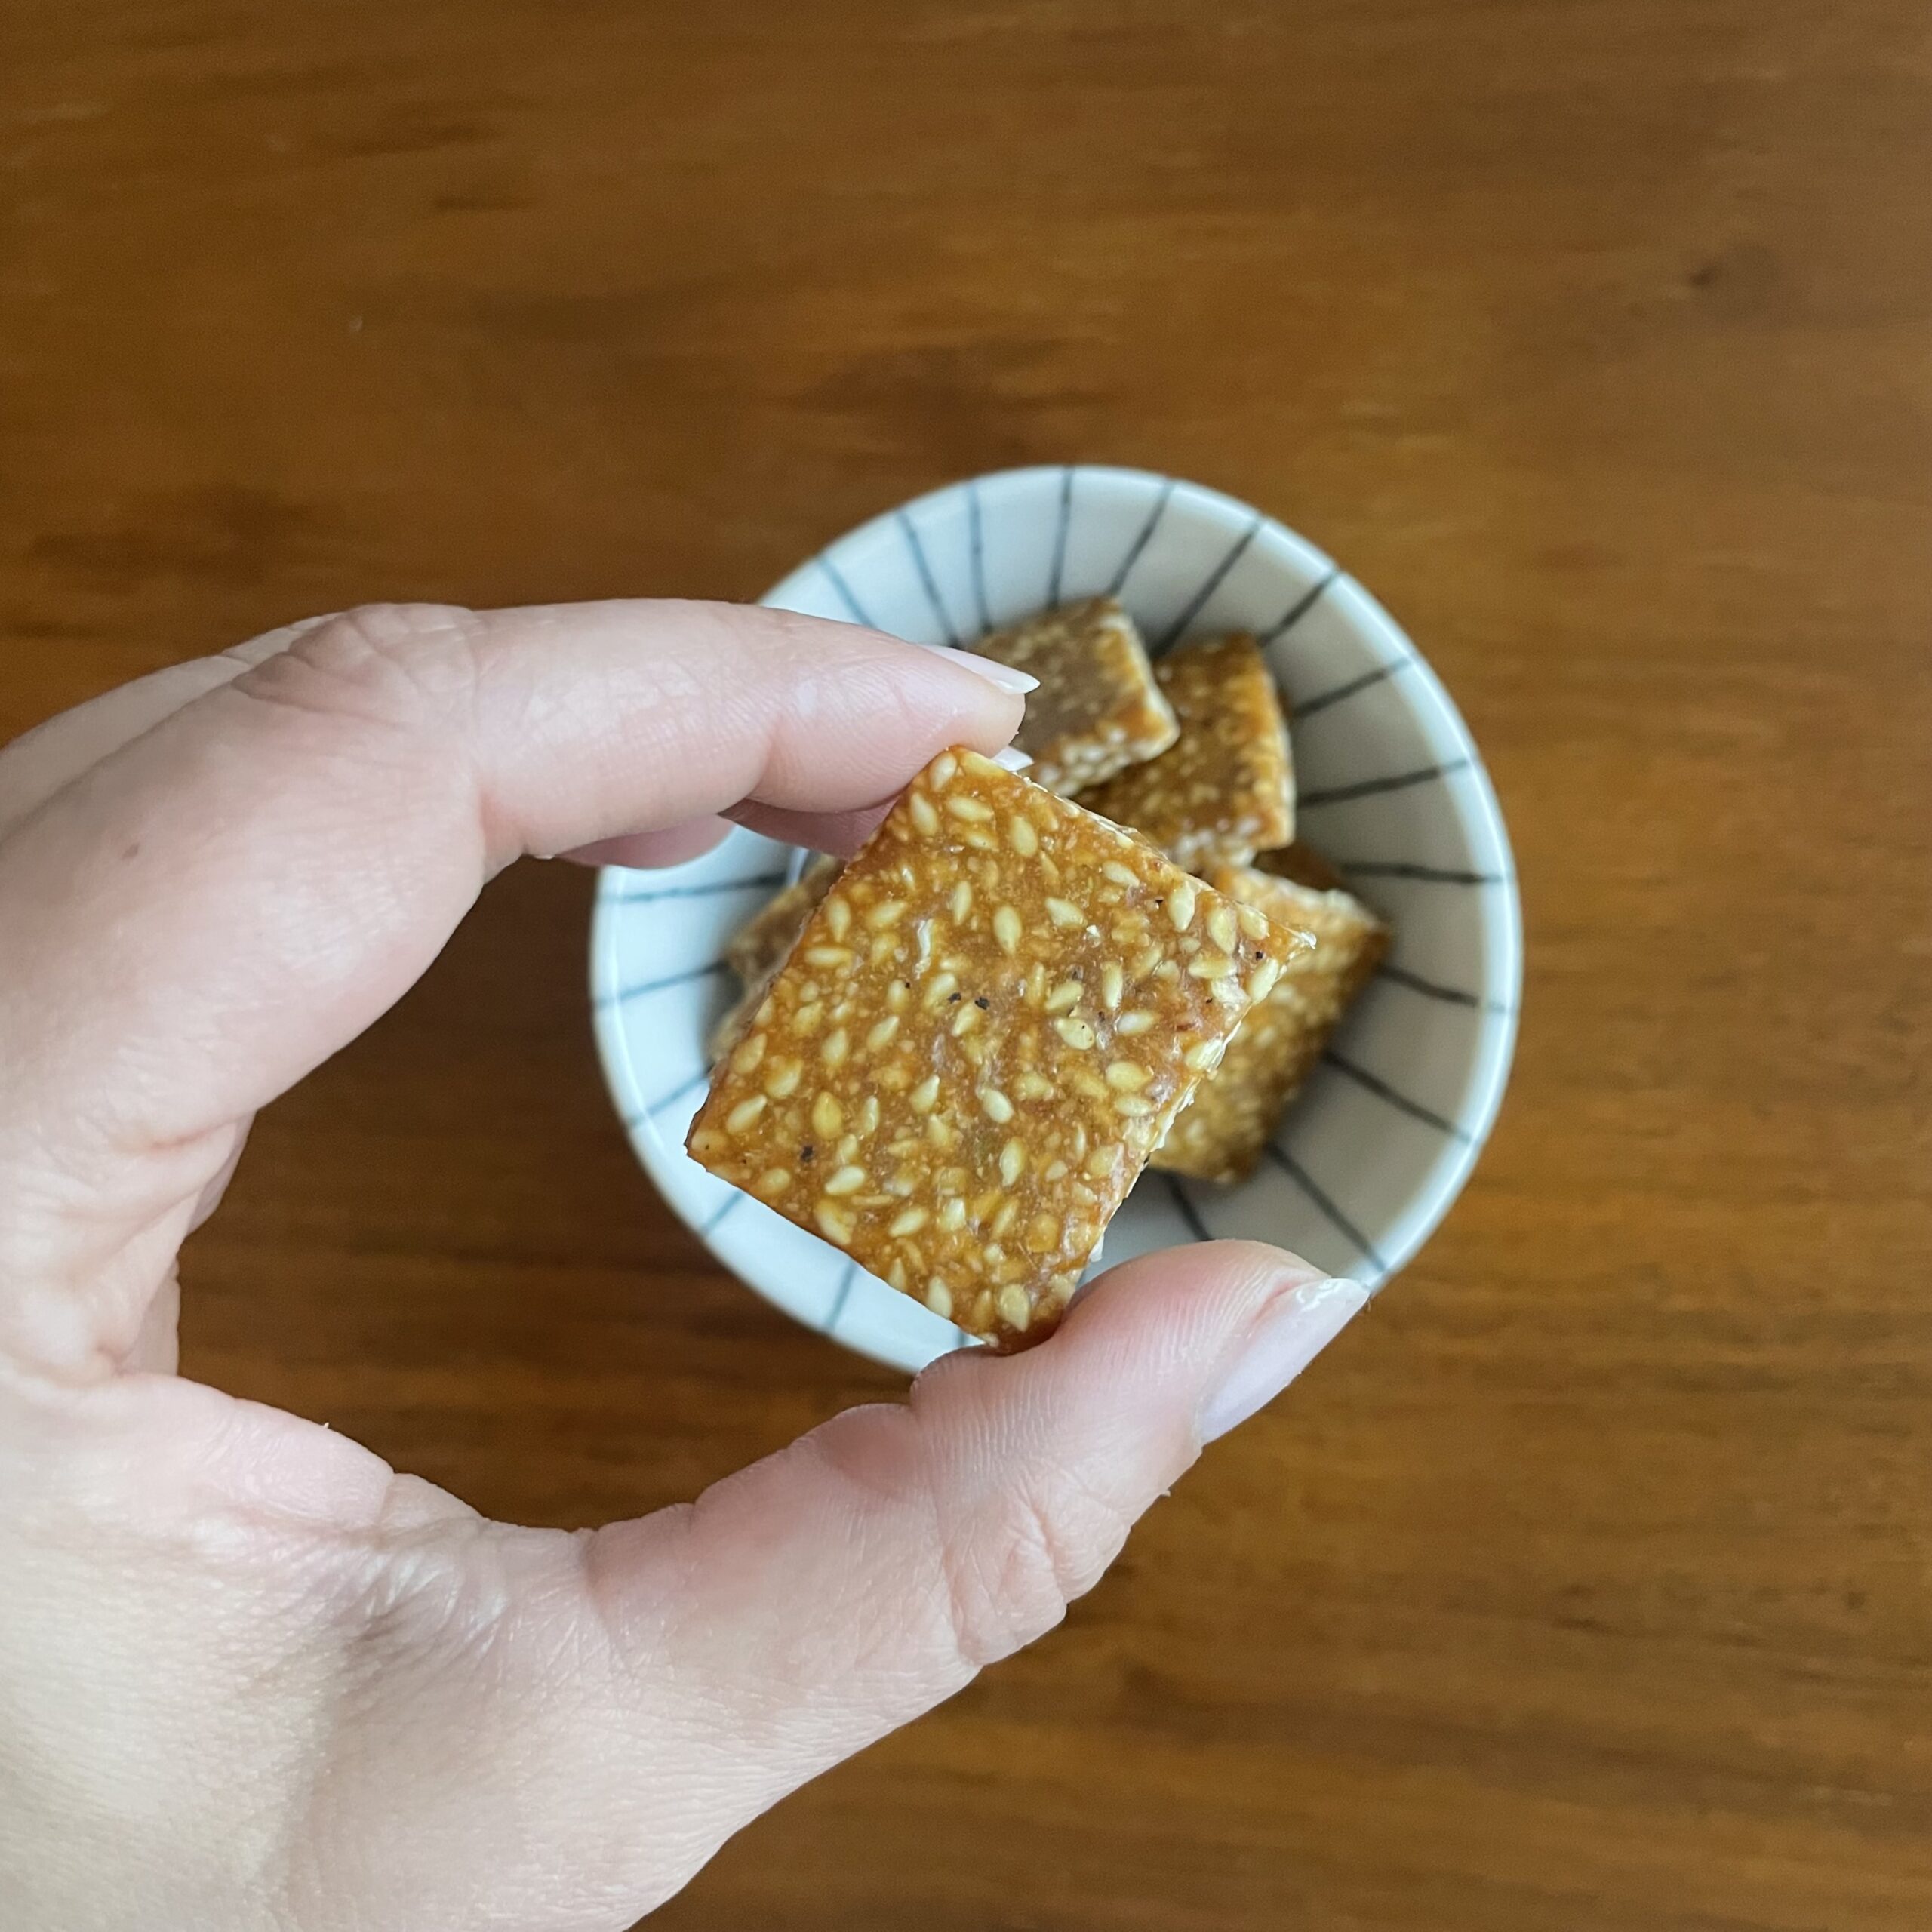
Tilgul (sesame+peanut brittle)

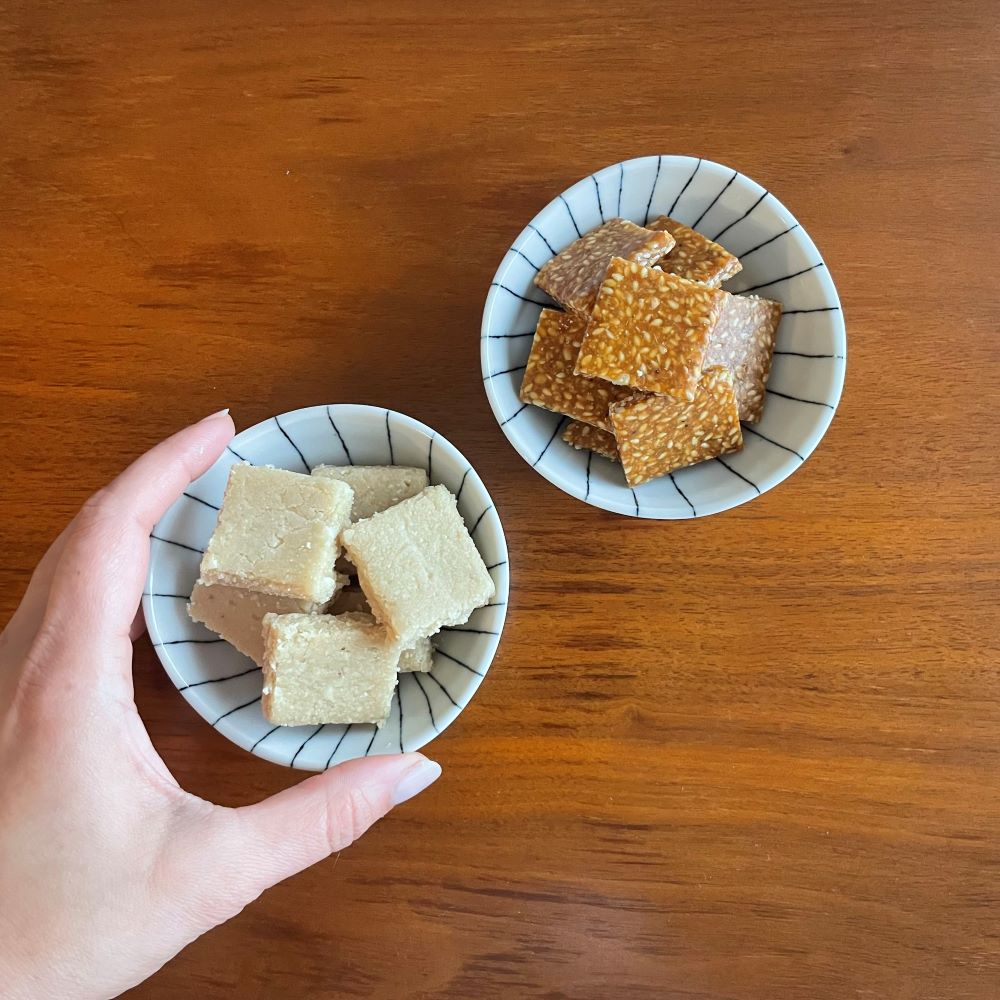
First things first – I personally do not like Most Tilguls. So when I say the ONLY 2 tilguls that I like are this one and this tilachi barfi that my aji made, you gotta belive that these are unlike any other tilgul and easily one of the best tilguls you’ll ever try 🙂

This is a hard candy/ brittle style tilgul that is also my Aji’s recipe – she used to call this one “navri ni karaychya vadya” meaning a sweet that a (even) a bride can make – because its that easy and fail-proof. the other barfi is a little tricky because of the sugar syrup consistency needing to be very specific. this is a relatively forgiving recipe! the only risk with this one you ask – getting the brittle stuck to the surface – but nothing that wont soak/ wash off!
With a little bit of prep – This will get made in literally 10 minutes, you have tp be wuick and alert
You will need:
3/4 cup roasted crushed peanuts (not too coarse, but not too fine either)
3/4 cup whole white sesame seeds – lightly toasted
1 cup sugar
1 tsp of ghee
1 tsp of cardamom powder
a greased flat surface – you can use a large board (stone/ wood) or the back of a thick baking sheet)
additional ghee for greasing the saurface and your rolling pin
Procedure:
- mix together the crushed rpatsed peanuts, toatsed sesame seeds and cardamom powder and keep aside
- Grease a large surface with some ghee and a rolling pin as well and keep it ready

- Only once the above two parts are ready, get started on making the syrup
- In a anon-stick pan or kadhai, take a tsp of ghee and let it melt
- Next add the sugar and cook on low flame.
- you can stir gently to bring any unmelted sugar from the sodes to the center, but avoid stirring as much as possible

- Do this on low flame to avoid buring the sugar
- Once all of the sugar melts, you will get an amber colored liquid
- When this liquid starts bubbling slightly on the sides, the syrup is ready
- Dump in the sesame+peanut powder mixture at this point and mix until homogenour – turn off the heat – this takes a couple seconds

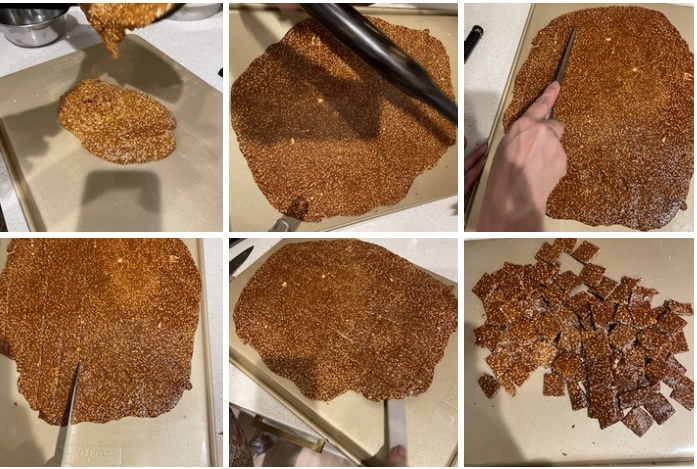
- Pour the hot mixture on the greased surface and roll immediately to a flat even;y thick layer
- immediately mark squares on this flattened layer with a knife
- insert your spatula, under the layer and loosen it from all sides, raise the sides and flip it over – to avoid sticking

- once flipped, flatten it again to avoid bending
- Once this cools downa nd dried (only takes a few minutes) – you can break the pieces on the marked lines

- When cooled completely, store the cut pieces in an airtight jar
- stays well for a few weeks!
